
How to Frame Prints
What you’ll need:
Mat board – inserted in front of your print inside your frame, the mat board has a shape cut out of it, so that the print will not come in contact with the glass.
Mounting board – secures and supports the print in the correct position; inserted behind your print inside your frame.
Archival Tape
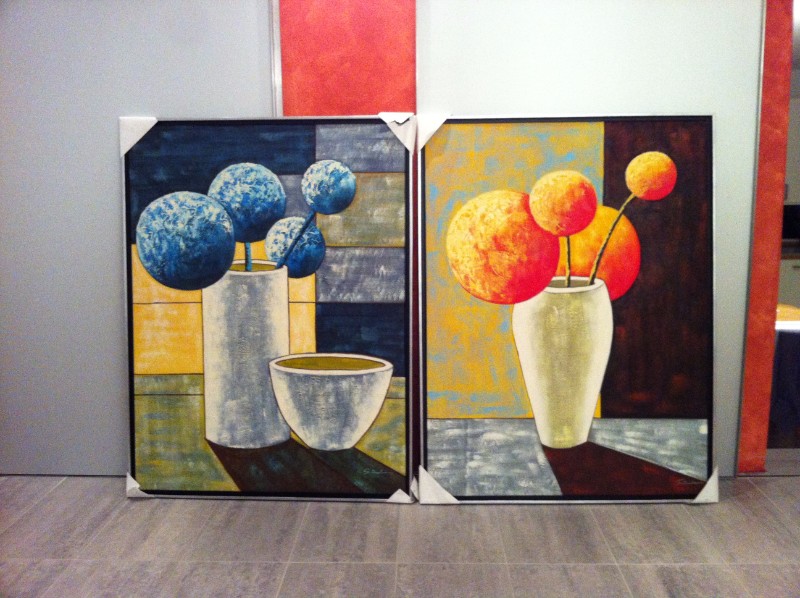
Selected Frame
Pencil
Special Knife and scissors
T-Square
Ruler or Measuring tape
Mat Boards and Mounting Boards
Step One: Place the mat board and mounting board on top of each other and measure and cut them all around. Make sure they are roughly 5-7 cm bigger than your print.
Finding Frames
Step Two: Your selected frame must match the measurements of your cut mat board and mounting board. Secure your print to your mounting board. Place your mounting board face up, centre your print on top of it. Using special, invisible archival tape (available at art and craft shops), gently create “hinges†on the top edge of your print only. This ensures your print has space to breathe, cope with any moisture, without it ruining and wrinkling under your glass.
Marking Mat Boards
Step Three: Create a window from your mat board’s centre that is 1.2 cm smaller than your print. Your mat board should overlap the face of your print by 1.2 cm on four sides. What are the measurements of your print’s length and width?
Step Four: With your mat board face down, create diagonal lines across the back of it, on opposite corners. You will then end up with a crisscross. Where your two crisscrossed lines meet is the centre of your mat board.
Now from the central point, measure the length and width in four directions. Half the width, less a quarter inch of your print; and half the height, less a quarter inch. Then with a T-Square, mark the height and width border lines for the opening that you will cut out of your board’s centre. Are your lines precisely 90 degrees? With the T-Square, check this. Bottom and top lines must be entirely parallel, the same applies to your vertical lines (left and right of opening). Remember, if these lines are not aligned correctly, it will be extremely noticeable when it’s on your wall. Be patient while ensuring everything is correct.
Cutting Mat Boards
Step Five: Cut out a square you’ve created in the middle of the mat board, using a special knife. Place straight edge along line, cut along line all at once (don’t stop for a break). Prolong the cut a tiny bit past the end of the corner, so the length and width cuts overlap at the corners – you should then be able to take out the square window without any ripping or damage. Don’t worry, the tiny overlap cuts will be too small to see. The result should be a mat board with a central window, slightly smaller than all sides of your print.
Frame it
Step Six: Place your frame face down. Both sides of the glass must be cleaned prior to this. Insert the glass inside the frame. Place the mat board face down in your frame, then insert your print on top (secured to the mount board), face down in your frame. Gently ensure it’s all lined up correctly.
Place your frame face down, adhere the backing (such as cardboard) into the frame. Your backing needs to be the same dimension as your mounting board. Stick down all the sides accordingly.
Now it is finally framed, and can go on your wall straight away. If completed professionally, your beautiful print will last for a very long time, for you to enjoy.
https://mobileframing.com.au